
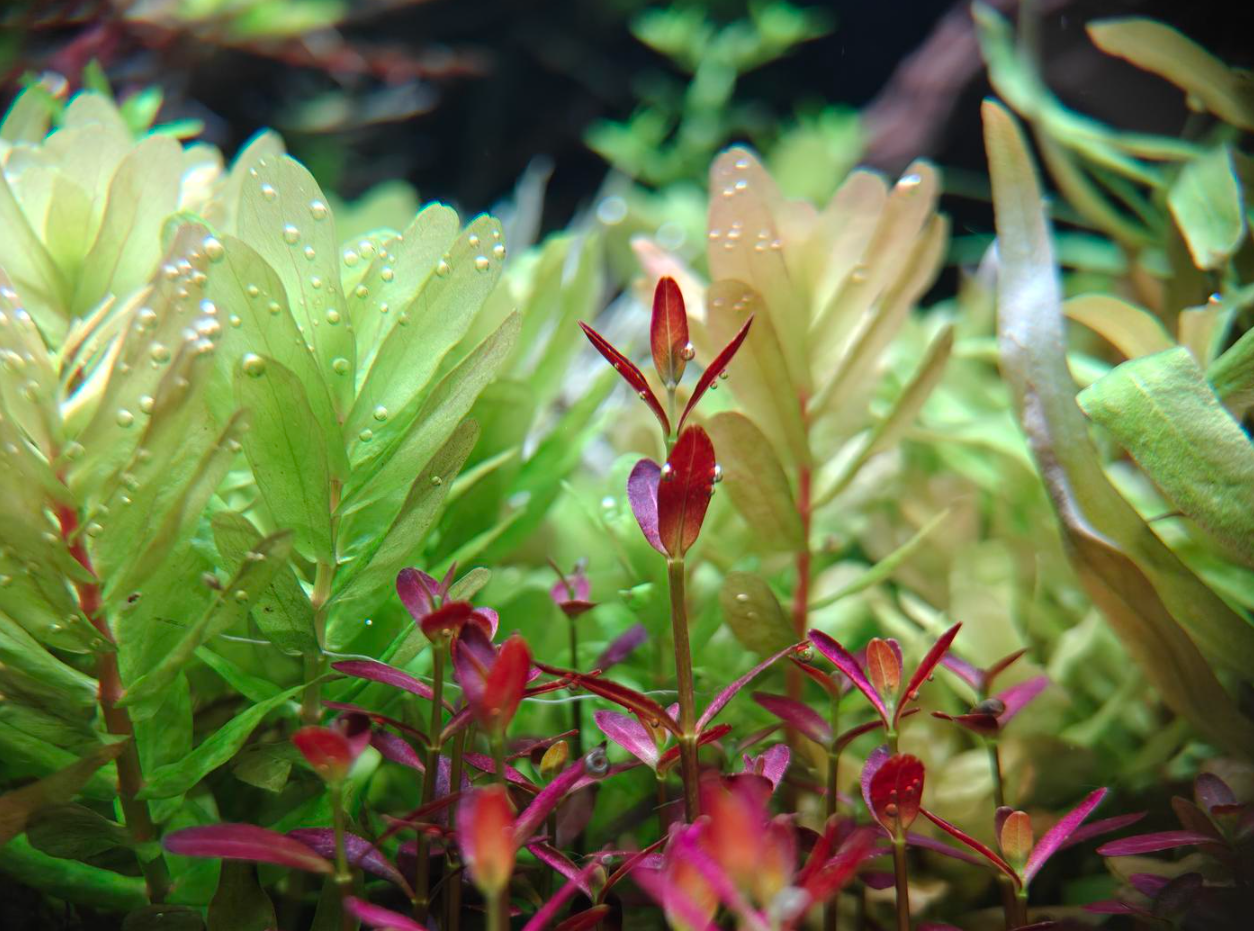
Aquascaping, often called "underwater art," is attracting more and more people seeking a slice of tranquility away from the hustle and bustle of city life. It's more than just planting aquatic plants in a tank; it's about miniaturizing natural landscapes within a glass box, creating a living, breathing ecosystem. Many believe this hobby has a high barrier to entry and is expensive, but that's not necessarily true. This guide focuses on low cost and easy operation, providing you with a detailed and reliable roadmap to start your aquascaping journey.
1. Preparation: Essential Low-Cost Equipment
For a beginner, the smartest first step is a small desktop planted tank. A 30-40 cm aquarium is ideal. It's small enough to easily manage water quality and lighting, yet large enough to be stable and visually rewarding. Instead of investing in the most expensive gear, focus on a sensible combination of core components.
The table below outlines a basic setup and cost-saving tips, helping you prepare the hardware for around $30-50 USD.
| Category | Recommended Choice | Function & Cost-Saving Strategy |
|---|---|---|
| Aquarium | 30cm Ultra-Clear Glass Tank | High transparency for better viewing. This size offers stable water parameters, perfect for beginners. |
| Lighting | Dimmable LED Light (8-15 watts) | Essential for plant growth. Choose a dimmable LED and start at 70% brightness to prevent algae. Low to medium light plants don't need expensive fixtures. |
| Filter | Small Hang-On-Back (HOB) Filter | Keeps water clear and creates gentle flow. A small HOB filter is affordable and sufficient for a 30cm tank. |
| Substrate | Volcanic Rock Gravel + Basic Aqua Soil | Money-saving tip: Lay down a bottom layer of volcanic rock gravel (3-5mm) to improve aeration and prevent compaction, then cover with aqua soil. This can reduce aqua soil usage by about 1/3. |
| CO₂ | None Needed | Highly recommended for beginners to start without CO₂ injection. Choose plants that don't require high CO₂ levels; they will grow perfectly well without additional equipment. |
| Heater | 50W Constant Temperature Heater | Maintains water temperature at 22-26°C (72-79°F) , suitable for most plants and tropical fish. |
2. Building the Hardscape: A Step-by-Step Guide
Once preparations are complete, you can begin the exciting process of hardscaping. Think of it as creating a miniature landscape – patience and attention to detail are key.
-
Lay the Substrate: Spread the rinsed volcanic rock gravel evenly at the bottom, about 2-3 cm thick. Then, cover it with aqua soil following the "low in front, high in back" principle. The front should be about 3-5 cm deep, while the back can be 6-8 cm deep. This creates depth and provides ample room for the roots of background plants.
-
Plan the Layout: Before placing rocks or driftwood, try arranging them outside the tank or on the empty substrate to settle on a composition. Beginners can try the "golden ratio" – place the main feature (like a key rock or piece of wood) at about one-third of the tank's width from either side. Avoid perfectly symmetrical layouts for a more natural look.
-
Place Hardscape: Position your chosen rocks (e.g., Dragon stone, Seiryu stone) or driftwood, gently pressing them into the substrate to secure them. A simple but effective trick: use small rocks to brace the base of the driftwood, preventing it from floating up when you add water. This hardscape will be the anchor for your plants.
-
Plant: This is where you bring the hardscape to life. Follow the order "plant background plants first, then foreground plants" to avoid disturbing already placed ones. Use long tweezers, grasp a plant by its roots, insert it into the substrate at a 45° angle, then gently release the tweezers as you pull them out. This method secures the plant well and prevents it from floating away.
-
Fill Slowly with Water: After planting, it's time to add water. Place a dish or plastic wrap on the substrate and pour the water slowly onto it, allowing it to overflow gently. This simple trick dramatically cushions the water flow, preventing your newly planted aquascape from being washed away and keeping the substrate level intact. Fill the tank to about 70-80% at this stage.
3. Beginner-Friendly Plant Selection & Combination
Choosing the right plants is half the battle. For beginners without CO₂ injection, selecting "low-tech" or "hardy" plants that don't demand intense light or rich nutrients is crucial. With smart combinations, even affordable plants can create a stunning visual impact.
| Planting Zone | Recommended Species | Characteristics & Visual Effect |
|---|---|---|
| Foreground | Dwarf Baby Tears, Dwarf Hairgrass, Hydrocotyle tripartita | Creeping plants that quickly form a lush green "carpet," creating a sense of a meadow or field. A crucial element for depth. |
| Midground | Anubias barteri var. nana, Cryptocoryne (e.g., Wendtii), Downoi | Medium height with diverse forms. Anubias can be tied to rocks or wood; Crypts have textured leaves. They connect foreground and background, adding rich detail. |
| Background | Rotala rotundifolia (Green), Hygrophila difformis (Water Wisteria), Elodea densa (Anacharis) | Fast-growing and tall, forming a dense "background wall." They effectively absorb excess nutrients, helping to control algae and maintain ecological balance. |
4. Tank Cycling & Ongoing Maintenance: The Key to Long-Term Success
A successful planted tank is 30% setup and 70% maintenance.
-
Initial Cycling: After filling, turn on the filter and heater. Do not turn on the light for the first few days, allowing the plants to acclimate. The water may appear slightly cloudy – this is normal and indicates the nitrogen cycle is establishing. Adding a small amount of beneficial bacteria can accelerate the process.
-
Lighting Management: Starting around day 4, set your light timer for 6-8 hours per day. A consistent light schedule is crucial. Too much light is the primary cause of algae blooms.
-
Water Maintenance: Stick to a schedule of changing about 1/3 of the water every week. Use a siphon to gently remove old water from the bottom, then slowly add dechlorinated (aged for 1-2 days) tap water. A TDS (Total Dissolved Solids) level between 200-300 ppm is beneficial for plant growth – you don't need to chase extremely low "pure water" readings.
-
Pruning & Biological Control: Regularly trim fast-growing background plants to encourage bushier growth and maintain the desired shape. If you spot a small amount of algae on the glass or plants, introduce Neocaridina shrimp (cherry shrimp). They are highly efficient, natural algae eaters.
Conclusion
Aquascaping is a long, rewarding journey of working with nature. The real joy lies in the process of creation and watching your underwater garden grow over time. Don't aim for instant perfection, and don't get discouraged by small, early setbacks. Each pruning, each time you see your plants pearling with oxygen bubbles or your shrimp thriving, brings a huge sense of accomplishment.
Start with this miniature underwater world, and use patience and creativity to build your own piece of nature. When you see the vibrant, thriving ecosystem you've created with your own hands, you'll find that every bit of effort was well worth it.