
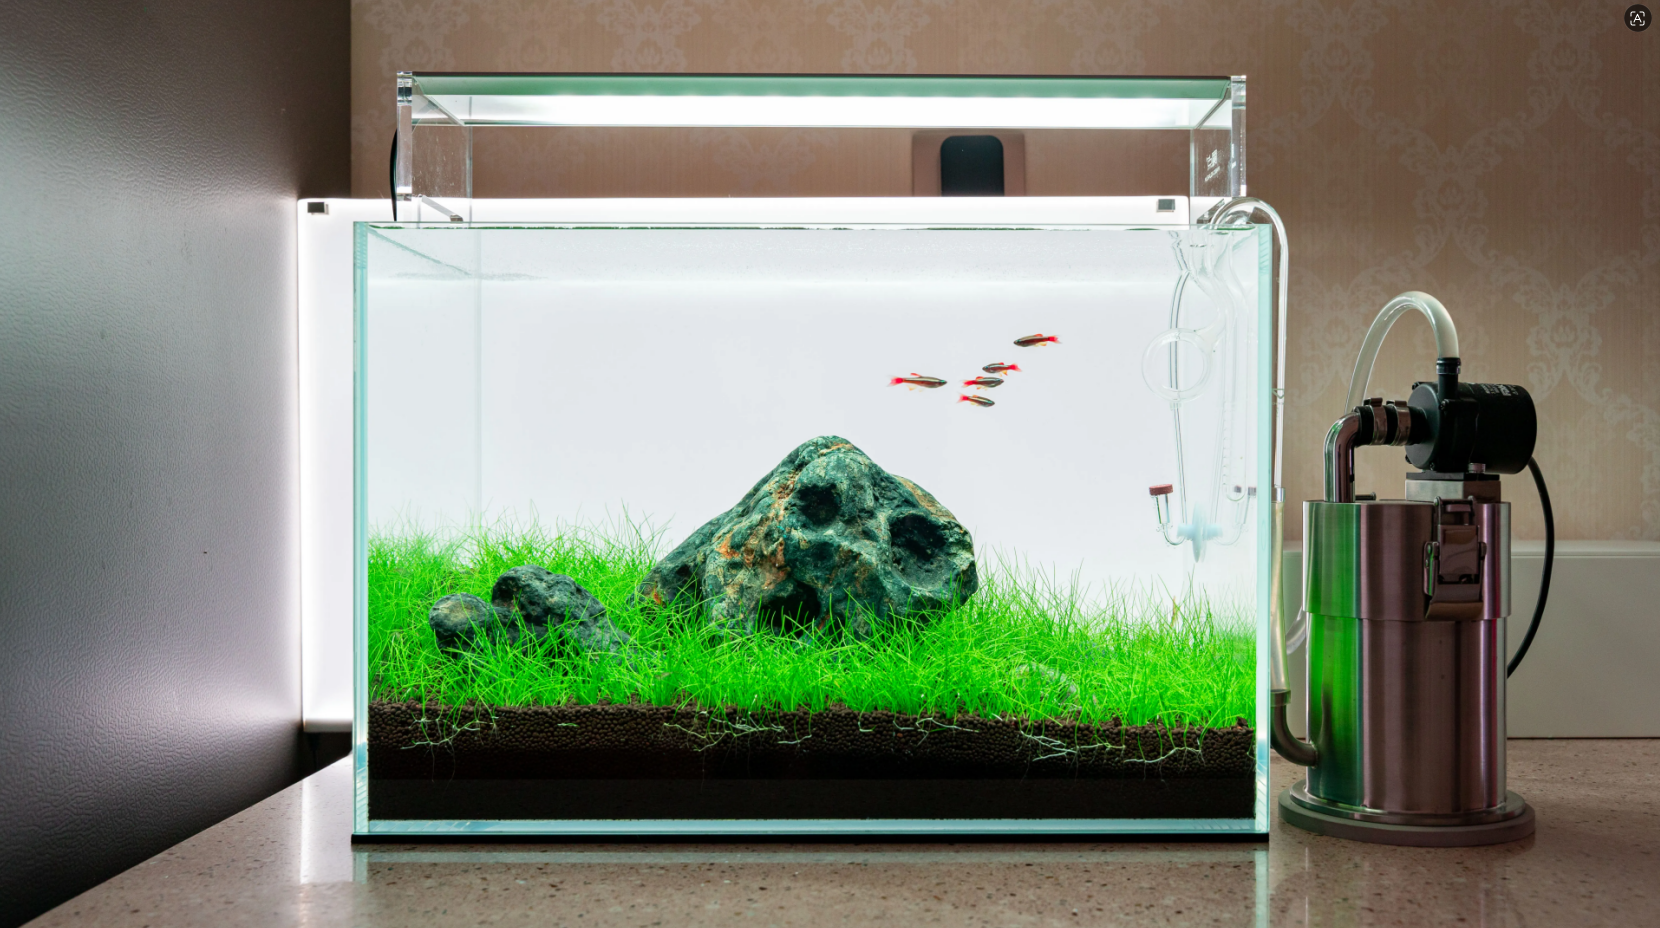
For many newcomers to the aquarium hobby, a vibrant, well-layered planted tank is deeply appealing—yet the actual process of creating one can feel overwhelming. The truth is, with a clear plan and a step-by-step approach, even a complete beginner can craft a stunning aquatic world. This guide on how to aquascape breaks down the entire process—from initial concept to adding your first fish—into seven straightforward steps.
Step 1: Planning and Conceptualization (Think Before You Buy)
Before purchasing any materials, take time to visualize the final look. Impulse buying often leads to budget overruns or mismatched styles. Learning how to aquascape effectively begins with good preparation.
-
Measure Your Tank Dimensions: What is your canvas size?
-
Large Aquariums: Offer ample space for complex mountain and valley layouts with strong depth perspective.
-
Small Aquariums: Ideal for delicate micro-landscapes. Simplicity is key—focus on a single, well-executed focal point.
-
-
Set a Budget: The price gap between equipment, stone, driftwood, and lighting can be significant. Decide in advance whether to invest in high-end imported brands or reliable domestic alternatives to keep the project manageable.
-
Choose a Style:
-
Chinese Landscape Style: Emphasizes negative space and the flow of mountain ridges.
-
Biotope / River Style: Mimics natural streambeds using rounded pebbles and gravel.
-
Classic Nature Aquarium: Focuses on dense planting, color contrast, and leaf texture.
-
Whimsical / Cute Style: Great for family-friendly setups.
-
-
Evaluate Feasibility:
-
Can your cabinet support the weight of heavy rocks?
-
Is the chosen substrate grain size suitable for plant root anchoring?
-
Pro Tip: Browse established aquascaping works for inspiration. Imitating a proven layout is often the fastest way to learn how to aquascape successfully.
Step 2: Gathering Materials and Equipment
Use the right tools for the job. For those new to how to aquascape, a tank size between 60cm and 90cm (approx. 20-35 gallons) is recommended. This volume maintains stable water parameters while providing enough room to practice layout techniques.
-
Lighting: You must use a full-spectrum LED light designed for aquatic plant photosynthesis. Standard room lighting will not sustain healthy plant growth.
-
Filtration and Oxygen: Match your filter (canister or hang-on-back) to the tank volume and expected fish load. Keep an air pump on hand for emergencies or extra surface agitation.
-
Hardscape Selection Tips:
-
Driftwood: Look for natural shapes with interesting texture. Malaysian Driftwood or Spider Wood are excellent choices. Avoid soft, rotting wood.
-
Stones: Seiryu Stone or Dragon Stone are classics. Avoid rocks with excessively sharp edges that could scratch the glass or injure fish.
-
Substrate: Use aquasoil for planted tanks; it provides nutrients and helps buffer pH. Use inert sand for river biotopes.
-
Plants: Start with hardy, low-light species (e.g., Anubias, Java Fern, Cryptocoryne) to build confidence before attempting high-demand red plants.
-
Step 3: Laying the Substrate (Creating Slope)
Never lay substrate completely flat. Creating a slope is essential for depth perception when learning how to aquascape.
-
Recommended Thickness:
-
Background Area: Needs deeper substrate for large stem plants. Aim for 5cm to 8cm (2-3 inches).
-
Foreground Area: For carpeting plants, keep it thinner, around 3cm to 5cm (1-2 inches).
-
-
Fertilization: Before filling with water, bury root tabs or a base fertilizer layer in the middle of the substrate bed to fuel long-term plant growth.
Step 4: Placing Hardscape Materials
This step defines the soul of your aquascape. Spend time adjusting—this is the artistic core of how to aquascape. Do not rush to add water yet.
-
Driftwood Placement: Mimic fallen trees in nature. Adjust height and angle to create overhangs or root-like structures. Use multiple pieces to enhance perspective.
-
Stone Placement:
-
Main Stone (Oyaishi) : Tilt it slightly; never place it perfectly upright. It should look like a natural rock formation.
-
Secondary Stones (Fukuishi) : Support the main stone, ensuring the grain/strata lines run in the same direction.
-
Accent Stones (Soeishi) : Scatter smaller fragments around the base for a natural transition.
-
-
Stability Check: View the tank from all sides. Ensure the structure is stable and won't collapse when water is added.
Step 5: Planting Aquatic Plants (Back to Front)
Use long aquascaping tweezers for precision. This protects delicate roots and makes planting in tight spaces easier.
-
Technique: Grip the plant roots, insert them into the substrate at a 45-60 degree angle, and gently release the tweezers to avoid pulling the plant back up.
-
Order: Background first, then midground, finally foreground. Strictly follow this near-to-far, low-to-high perspective rule to achieve professional-looking depth.
Step 6: Filling with Water and Initial Filtration
This is the most common step where beginners undo their hard work while learning how to aquascape.
-
Buffer the Flow: Never pour water directly onto the substrate. Place a plastic bag, bowl, or piece of bubble wrap on the bottom and pour water gently onto the buffer. This prevents cloudy water and uprooted plants.
-
Water Level: Fill the tank to about 90% capacity, leaving some space at the top.
-
Start Filtration: Turn on the filter immediately. The water will likely appear cloudy or milky for the first few hours (bacterial bloom/particulates). This is normal. Allow the filter to run continuously for 2-3 days until the water clears.
Step 7: Cycling the Tank and Adding Fish
Resist the urge to buy fish immediately. A healthy ecosystem takes time to establish—this patience is a vital part of knowing how to aquascape responsibly.
-
Water Testing (Approx. 1 Week Later) : Use a test kit to measure Ammonia and Nitrite levels. Only when both readings are consistently zero is the nitrogen cycle established and the tank safe for fish.
-
Introducing Hardy Fish: Start with a few inexpensive, resilient species (like Zebra Danios). Observe them for 3 days. If they are active and eating well, you can gradually introduce your desired display fish.
-
Maintenance Routine:
-
Water Changes: Replace 1/3 of the tank water weekly (use dechlorinated water).
-
Lighting: Use a timer to provide 6-8 hours of light daily. Too much light causes algae; too little stunts plant growth.
-
Filter Cleaning: Rinse filter media gently in removed tank water once a month.
-
💡 A Lazy Aquarist's Hack: Simplifying Water Chemistry
For beginners who want to minimize the hassle of aging water and testing parameters, specialized water care products can streamline the process of learning how to aquascape.
-
Water Conditioners: Instantly neutralize chlorine, chloramine, and heavy metals in tap water, reducing stress on fish.
-
Nitrifying Bacteria Solutions: When used alongside a conditioner, these accelerate the establishment of the biological filter, shortening the "cycling" period and keeping ammonia levels in check.
Follow these seven steps, and even a first-time hobbyist can create their own personal "underwater forest." There's truly nothing more relaxing than coming home to watch fish gliding gracefully through a lush, green landscape you built yourself.
Happy Aquascaping! May your water be clear and your plants thrive!